IP Camera Installation: NVR Setup and Camera Placement (Unit 5)
The final unit of the e-commerce textbook: network cameras from Dome to PTZ, sensors and lenses, the NVR and recording capacity, software camera placement, and streaming over the internet.
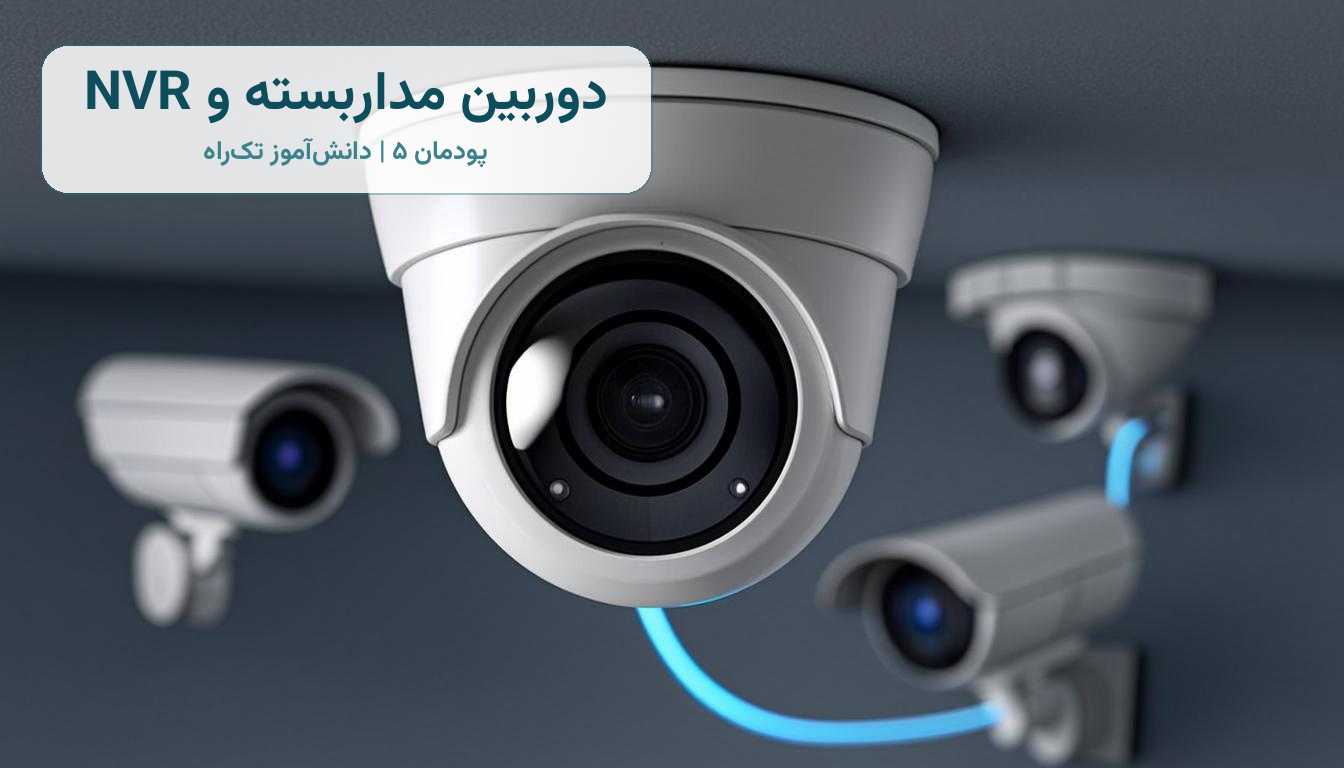
The last unit of the E-Commerce and Network Security textbook turns to the most practical security device in the Iranian market: the surveillance camera! In this unit you learn to recognize the types of network cameras, choose correctly using technical criteria such as sensor, lens, and resolution, set up an NVR video recorder, plan camera placement with software, and transmit footage over the local network and the internet. The camera installation market in Iran is booming, and this very unit could become your first profitable service.
What is a network camera and what is it made of?
A network camera (IP camera) produces a digital image and sends it directly over the network. The heart of the image is the image sensor, which converts light into an electrical signal; cameras commonly work with two sensor types, and the sensor's size together with the lens determines the viewing angle: the field of view depends on the lens's focal length and the sensor's size, and the book's tables show, for each lens and sensor, at what distance an object's image is “recognizable”. So before buying, know the mounting location and the subject distance. One field note: in IR cameras, the infrared LEDs light up in darkness to keep the scene bright, but because the sensor is sensitive to infrared light, colors look unnatural in ordinary light; that is why these cameras have an IR filter that blocks infrared light from reaching the sensor during the day.
Six camera types by body design
The camera's shape depends on where it will be mounted. Memorize these six types along with their uses:
- Dome camera: dome-shaped; because the lens's exact direction cannot be seen from outside, it resists tampering and is usually used indoors; its IR variant, with infrared LEDs, suits low-light environments.
- IR bullet camera: cylindrical and built for the outdoors in various conditions; the most widely used camera for yards and building facades.
- Box (industrial) camera: designed for mounting on a wall or pole, with an interchangeable lens; a favorite of industrial projects.
- PTZ camera: can rotate in different directions and zoom in on a subject; for large spaces such as towers and vast yards. Some models are controlled over the network.
- Pinhole camera: for places with no room to mount anything; the famous example is the camera inside bank ATMs.
- Wireless camera: when cabling is impossible, it carries the image over the air.
Recording equipment and the NVR
A camera alone is not enough; the footage must be recorded and archived. In network systems, an NVR (Network Video Recorder) is used — a device that connects the cameras to itself over the network and manages recording; that is why the NVR is installed near the monitor and the surveillance station. An important compatibility note: camera, NVR, and video management software makers follow shared standards such as ONVIF so their products work together; before buying across brands, check this. Recording quality has two factors: resolution (megapixels) and frames per second (stream) — the higher they are, the smoother the video but the larger the recording. The book's calculation example — recording several 3-megapixel cameras simultaneously on one NVR — shows how recording capacity and duration can be computed; in the workshop you will run this same calculation with your own project's numbers.
Camera placement with software: the backbone of a professional project
Before drilling any wall, plan the layout! The book says that for a confined space (like a shop or workshop) you should do camera placement with software: draw the floor plan, choose the camera model, lens, and viewing angle, and simulate which parts of the space are visible and which are not. This both determines the exact number and positions of the cameras and prevents unnecessary purchases, and it backs up your project presentation to the customer — just like the network plan you drew in the 10th-grade drafting textbook. After placement comes physical installation and connecting the cameras to the NVR through a network switch — observing work-at-height safety and correct electrical connections.
Viewing footage over the local network and the internet
The end goal is surveillance, not just recording! You can view the cameras' footage on the local network on a monitor connected to the NVR, and review it live or from the archive using camera software on a computer or phone. The next valuable capability is transmitting footage over the internet: with the network settings and, if needed, network services, the cameras' images become viewable on your phone or computer anywhere in the world — exactly what a shop owner expects from a surveillance system. And the closing security lesson, which also appears in the book's non-technical competency indicators: care in safeguarding the customer's property, setting a strong password for the cameras and NVR, and protecting against unauthorized access — an unprotected camera is itself a security hole!
Unit 5 assessment checklist: knowing the camera types + choosing the right camera and lens for the location + determining the mounting spot and resolution + installing and connecting the cameras to the NVR + software placement for a confined space + transmitting footage over the local network and the internet.